
Your first storage profile
A storage profile holds everything the plugin needs to talk to your bucket: provider, bucket name, region, endpoint, credentials, and delivery URL. Free manages one profile; Pro adds the ability to create additional profiles, each with its own independent credentials.
Before you begin
- A bucket already created with your chosen provider
- Access-key credentials for that bucket (see the provider-specific guide under Storage Providers for how to generate them)
Steps
- Go to Universal Storage → Storage.
- Choose your provider — or Custom / other S3-compatible if yours isn’t listed as a preset.
- Enter the bucket, region, and (for non-AWS providers) the endpoint.
- Enter your access key ID and secret access key. The secret is encrypted at rest and is never shown again once saved — leaving the field blank on a later edit keeps the existing value.
- Set a delivery URL if you’re serving through a CDN, or leave it to use the provider’s default S3-style URL.
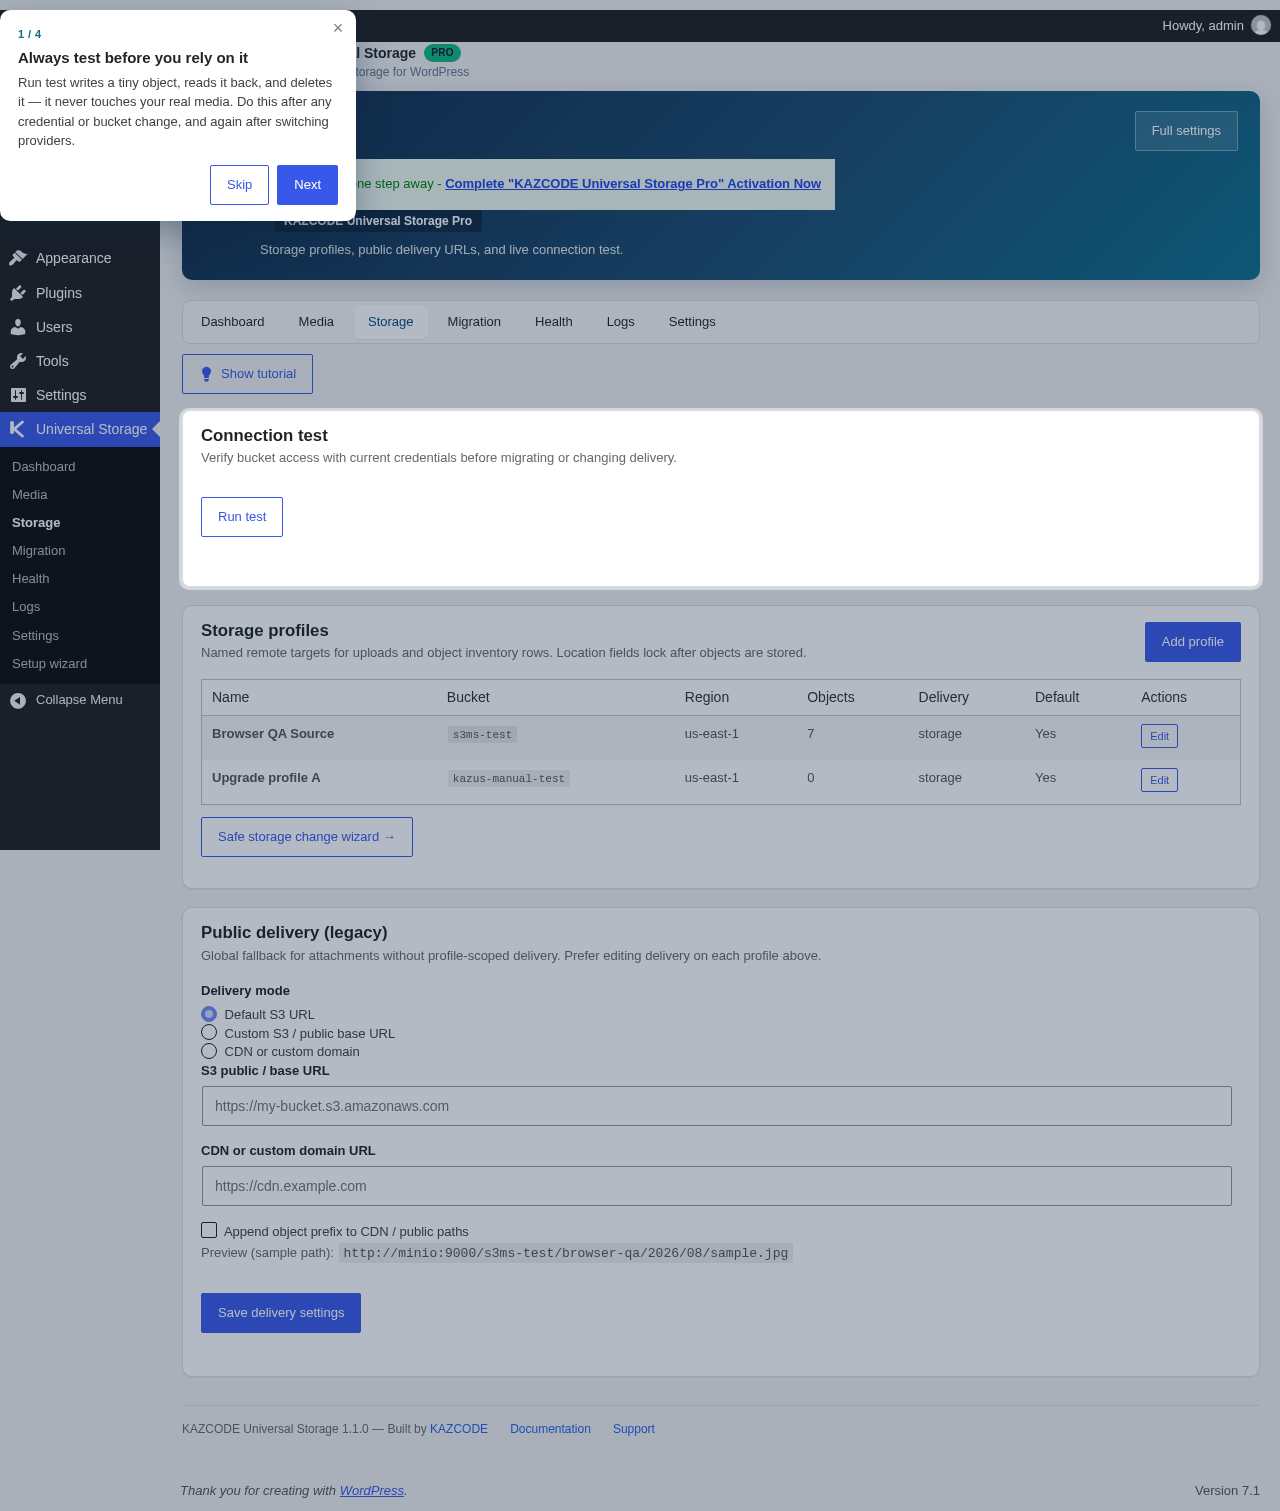
- Click Test connection.
Verify it worked
The test runs client → bucket → upload → HEAD → delete, and reports each step. A successful test shows all steps passing. If your bucket is private (no public read access), the test also warns you explicitly that direct delivery won’t work until you configure a CDN or enable private media with signed URLs.
Troubleshooting
AccessDenied / 403 — the credentials are missing a permission, or are scoped to the wrong bucket/prefix. See Credentials & permissions.
Wrong region — the Region field must match the bucket’s actual region exactly.