
Installation
Before you begin
- WordPress 6.7+, PHP 8.3+
- Admin access to your site’s Plugins screen
Steps
- In WordPress, open Plugins → Add New, search for KAZCODE Universal Storage, and select Install Now. You can also download the ZIP from the WordPress.org listing and install it through Plugins → Add New → Upload Plugin.
- Activate KAZCODE Universal Storage from the Plugins screen.
- On activation, the plugin redirects you to its setup wizard automatically (you can re-open it any time from Universal Storage → Settings → Restart the setup wizard).
- Open Universal Storage → Settings, pick a provider, enter credentials, and test the connection.
- Open Universal Storage → Settings, enable offload, and — once you’ve spot-checked a test upload — enable Serve from S3.
Verify it worked
- Universal Storage appears as a top-level menu item in wp-admin.
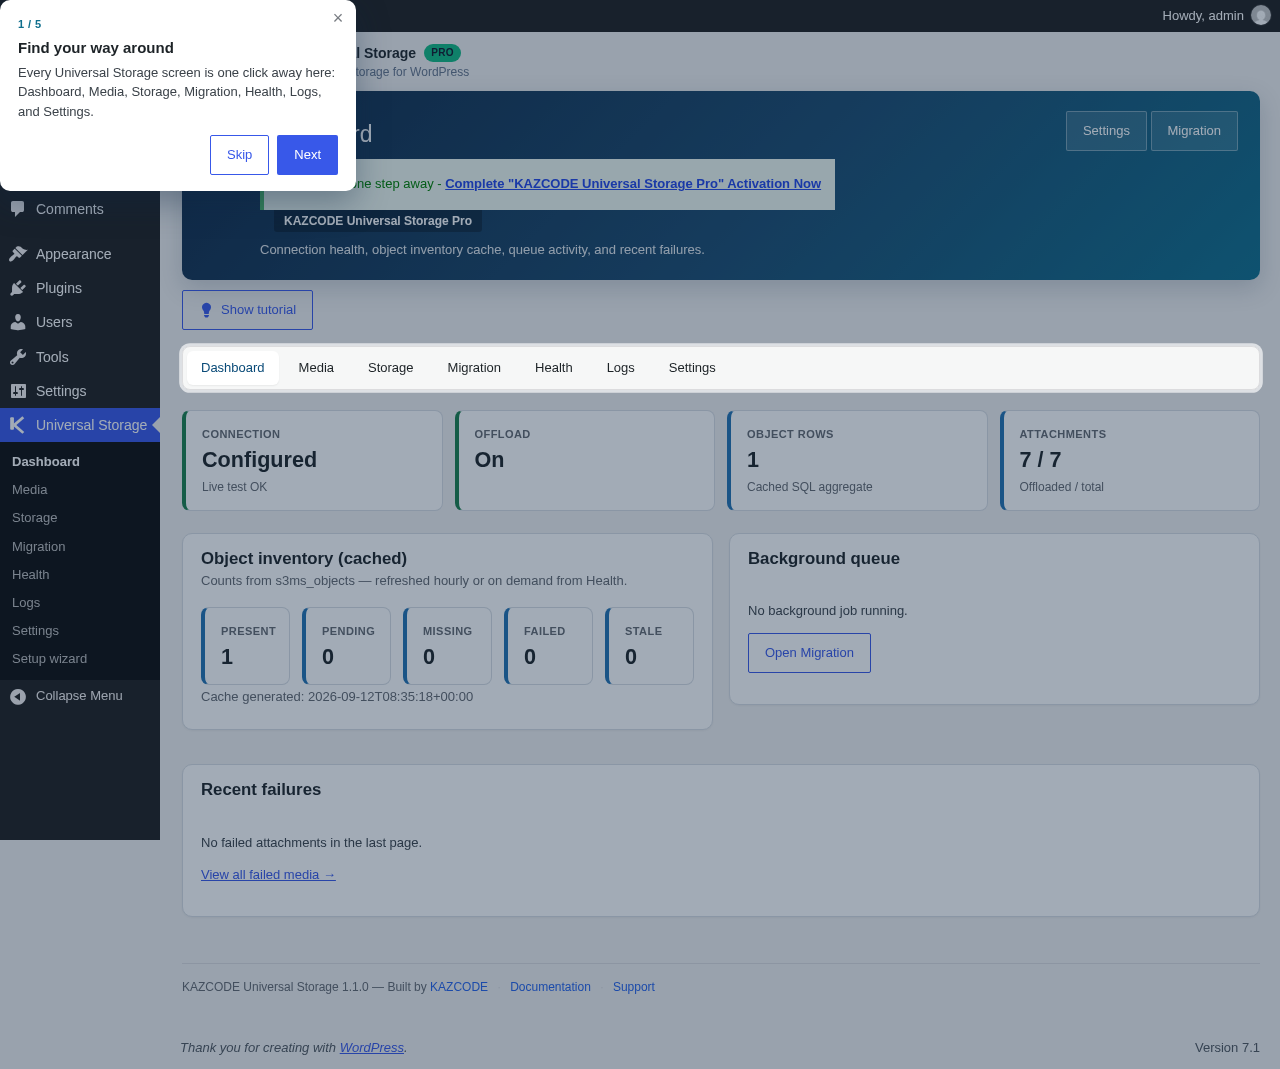
- Universal Storage → Dashboard shows a Connection status (Configured/Incomplete) and an Offload status (On/Off).
- Follow Your first upload and confirm the test image appears in your bucket. After enabling Serve from S3, check a page containing that image and open its delivery URL directly in a browser. Both the image and its thumbnails should load from the configured delivery host.
Troubleshooting
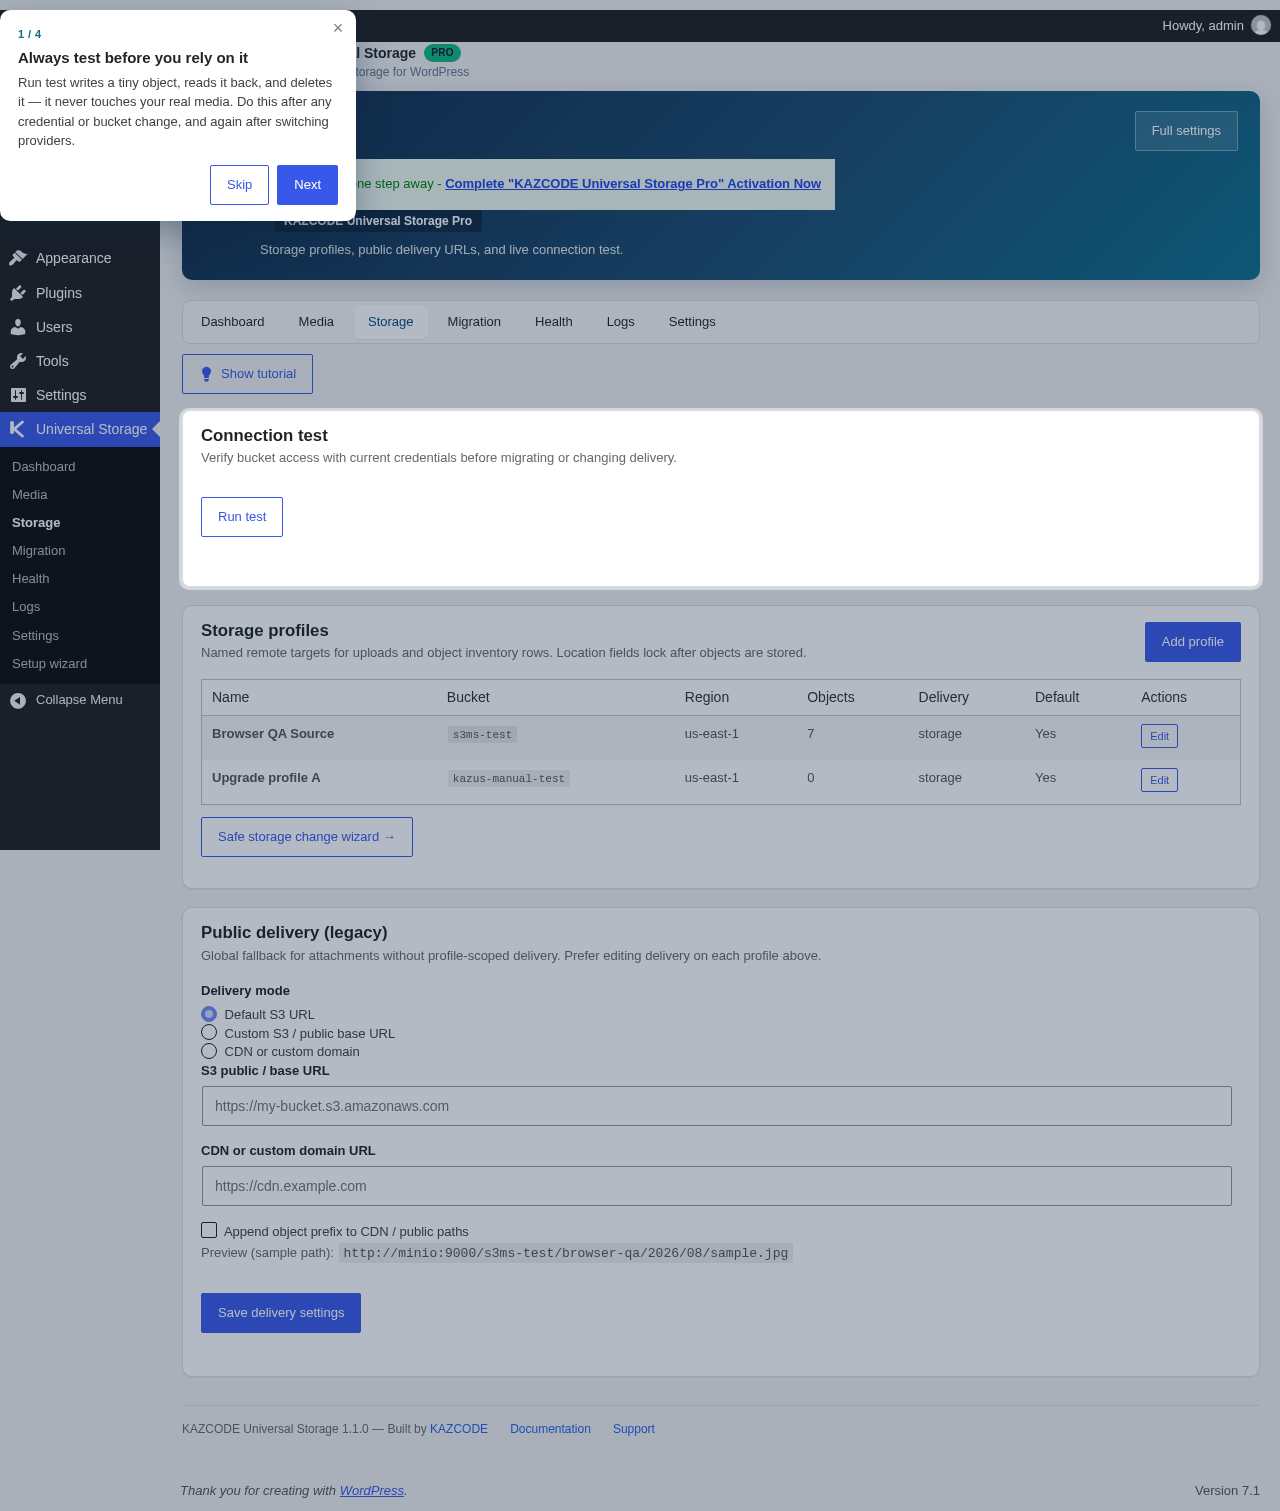
If activation doesn’t redirect you to the setup wizard (for example, on a bulk-activation of multiple plugins at once), open Universal Storage → Settings directly and use the Restart the setup wizard link. If you do not want automatic page tutorials, use Disable tutorials from any Universal Storage screen; Show tutorial remains available for manual replay.
Installing the Pro add-on
KAZCODE Universal Storage Pro is a separate plugin. Keep Free installed and active; Pro 1.1.x requires Free version 1.1.0 or newer. Follow the Pro installation and license activation guide to download the add-on, install its ZIP, and activate your license.