
Migrate Existing Media
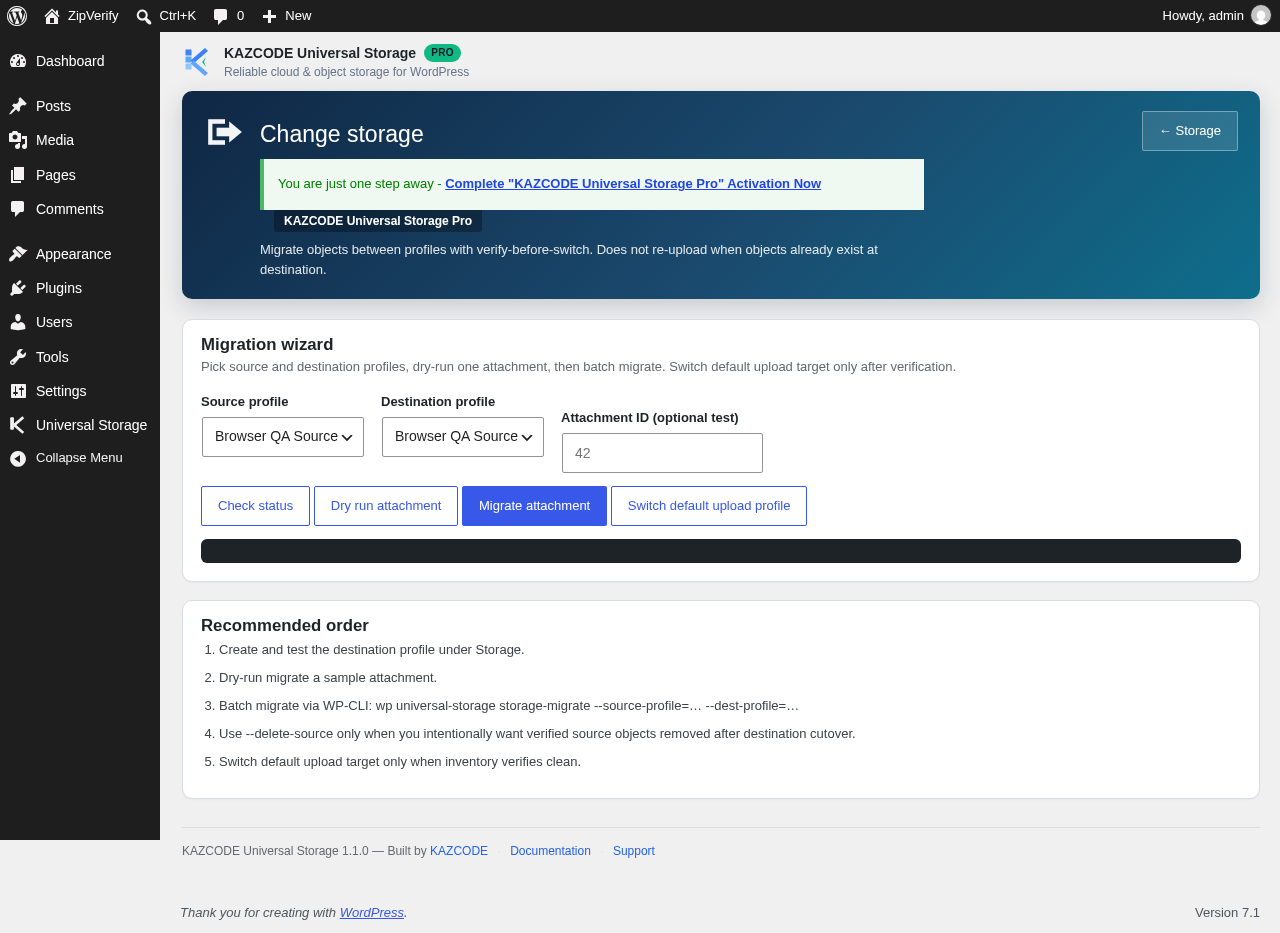
Migration moves attachments that predate the plugin (or that were uploaded while offload was off) to your configured storage, in recorded attachment batches.
Before you begin
- A tested storage profile
- Ideally, a successful first upload confirming offload itself works
Steps
- Go to Universal Storage → Migration.
- Run a dry run first — it reports what would happen without uploading anything.
- Set a batch size and start the real migration. It processes attachments in batches and can be stopped and resumed at any time.
- Use retry failed to reprocess only the attachments that failed, without re-touching everything else.
For large libraries, prefer WP-CLI for unattended runs:
wp universal-storage migrate --dry-runwp universal-storage migrate --batch-size=100wp universal-storage migrate --attachment-id=123 --verbosewp universal-storage migrate --delete-localVerify it worked
Universal Storage → Dashboard shows offloaded/total attachment counts. Universal
Storage → Media shows per-attachment status. Run
wp universal-storage status for a CLI-side totals check (offloaded/pending/failed/verified).
Troubleshooting
Migration stalls partway through — re-run the same command or click Migrate again in the admin screen. KAZCODE resumes from recorded attachment/job progress, so attachments that already completed do not need to be migrated again. This is not crash-resumable multipart upload; interrupted in-flight files may need to retry from the file level.
Some attachments fail — use wp universal-storage retry_failed, or Universal
Storage → Media’s failed-items panel, to see the specific error per attachment.
Moving media between storage providers or buckets (not just from local disk to your first bucket) is a Pro capability.